UFW is short for Uncomplicated Firewall and offers simpler firewall configuration. This command-line utility writes iptables rules, which interface with a low-level network utility that interacts with the kernel. It’s very simple to use and is great for beginners. For more advanced network configurations, iptables rules should be written manually.
The purpose of a firewall is to specify rules that modify behavior of network packets. These rules can be set based on source, destination, port, communication protocol, etc… For example, you can allow all TCP packets through port 22 from a specific IP address. To do this, you can use a command like this.
sudo ufw allow from 123.0.67.89 proto tcp to any port 22This is a more advanced ufw command, but before we get too far, let’s start from the beginning. Most *nix cloud installs will have this feature installed by default, but let’s start with the install.
Debian Based Installs
sudo apt install ufwRHEL Based Installs
sudo dnf install ufwOnce installed, let’s first allow TCP traffic over your SSH port so that you don’t get locked out of your box if working remotely. By default, this is port 22 but if you’ve modified this, make changes to the code accordingly. You can issue either of the following commands to enable SSH traffic. Learn more about SSH.
sudo ufw allow 22/tcpsudo ufw allow sshSome software packages will register app rules with UFW on installation. An example is Nginx, which has rules for port 80, port 443 and both. To allow an app rule, you can issue the following command.
sudo ufw app list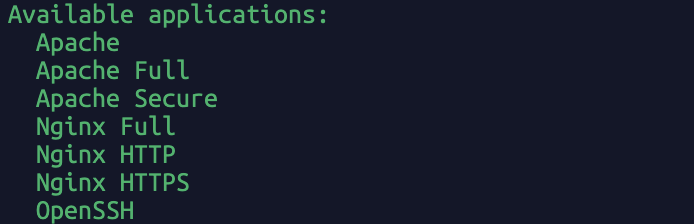
sudo ufw allow 'Nginx Full'This article’s content is incomplete
Leave a Reply