Description
DigitalOcean is one of many VPS (Virtual Private Server) providers and is what this guide will be based on. Many cloud providers will offer fresh OS installs with unrestricted access to a virtual machine, an internal private network subnet and a routable external IP address. You’ll be able to specify the OS that’s installed and allocate hardware resources. The lower-end plans will use “shared” CPU cores, which can add a level of unreliability and shouldn’t be used for production uses. Dedicated CPU core allocation is ideal for production use but comes at a higher cost. For the purpose of this guide, we’ll be setting up an instance with the lowest available resources for testing, learning and development purposes.
This guide will not cover account creation or logging in and assumes that this has already been done. This guide will also not cover project creation and will be using the default one that’s created for us.
Droplet Creation
From your DigitalOcean project dashboard, click on the green Create button towards the top right corner and then choose Droplets. We’ll cover creating some of the other components in the future.

Image Selection
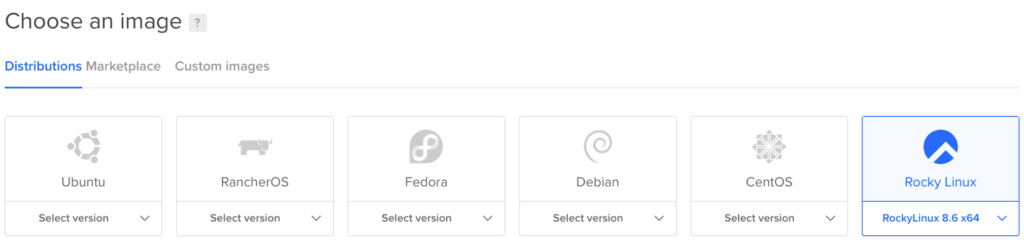
Now we’ll select an OS to install. If you’re new to linux, Debian based distributions like Ubuntu are easier to grasp and serve as a great entry to learning Linux. The intended purpose of this guide is install a server instance that we have full control over. There’s three categories to choose from, including Distributions, Marketplace and Custom Images.
- Distributions are quick to deploy and are typically up to date (though it’s a best practice to update after installation).
- Marketplace is a digital marketplace with pre-built server instances for specific purposes. For example, you may find a WordPress app that you can quickly deploy and manage from a browser.
- Custom Images allows you to upload an .ISO of the OS you want to install. This can be used to install distributions not available through DigitalOcean, like Kali Linux.
Plan Selection
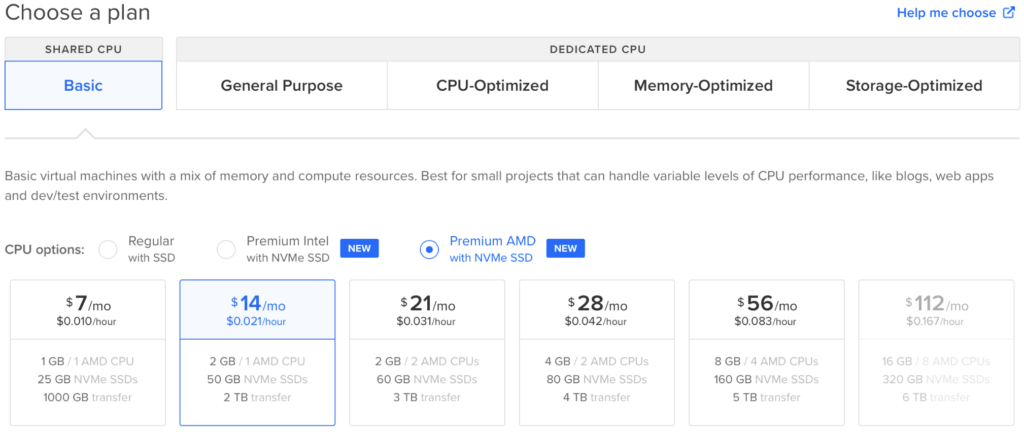
This is the basis on which your monthly cost will be determined. As explained in the guide’s description, Shared CPU should be used for developmental purposes and Dedicated CPU. As such, we’ll chose Basic. The differences between the other plans is out of the scope for this guide. The CPU options available will vary based on the plan type. The Premium CPU options aren’t necessary for the purpose of this guide and Regular with SSD can be used. We’re also able to choose between how many CPU cores, storage and transfer limits. We’ll be skipping over block volume setup as this costs more and isn’t always necessary unless you need extra storage for either swap memory or digital assets (images, videos, etc).
Datacenter Location Selection
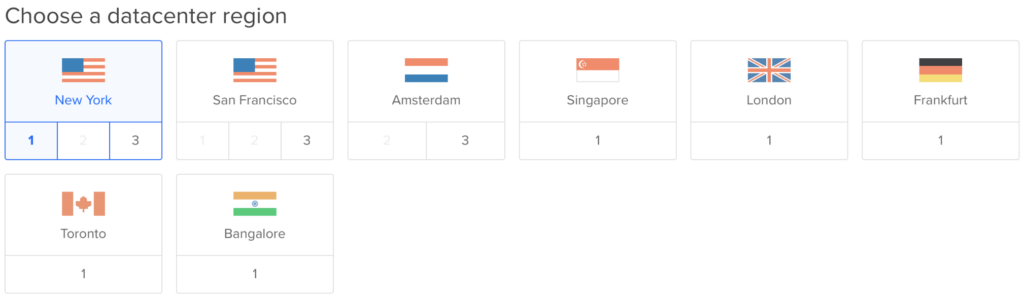
Choose a datacenter location that’s nearest to your target population. The vicinity to your location isn’t as pertinent since your server can be managed from basically anywhere. DigitalOcean has a limited number of server locations to choose from, but with the aid of DNS cached webpages, this really won’t affect web servers too much.
Authentication Type Selection
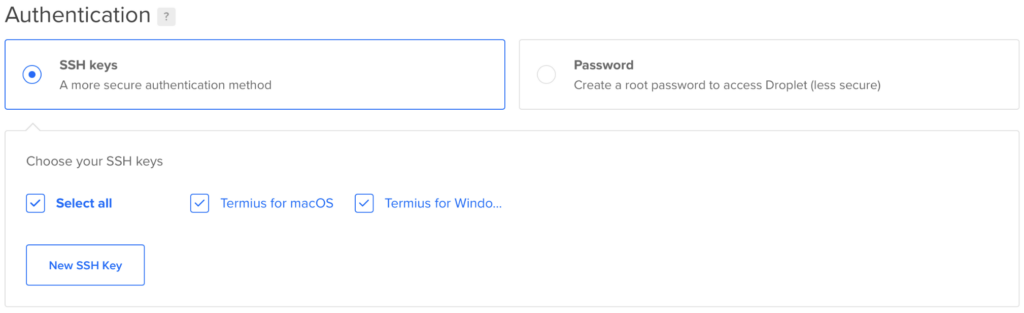
We have the option to choose between Password and SSH key selection. Learn more about SSH keys here. It’s recommended that you use an SSH key pair for any production or server hosting sensitive data. You can use the New SSH Key button to upload / import a public SSH key, generated from the client you’ll be remotely managing from. Once done, select your key and move on.
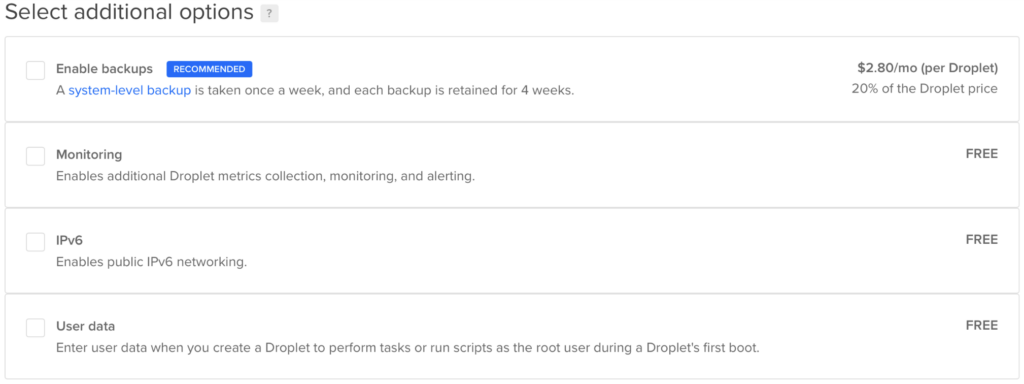
Additional Option Selection
Of the available options, I’d suggest enabling DigitalOcean’s monitoring feature. This can help provide insight into the performance of your server from your DigitalOcean dashboard and enables you to create monitoring alerts. These features aren’t absolutely essential and you could configure your own monitoring solution, which will be available in a future guide.
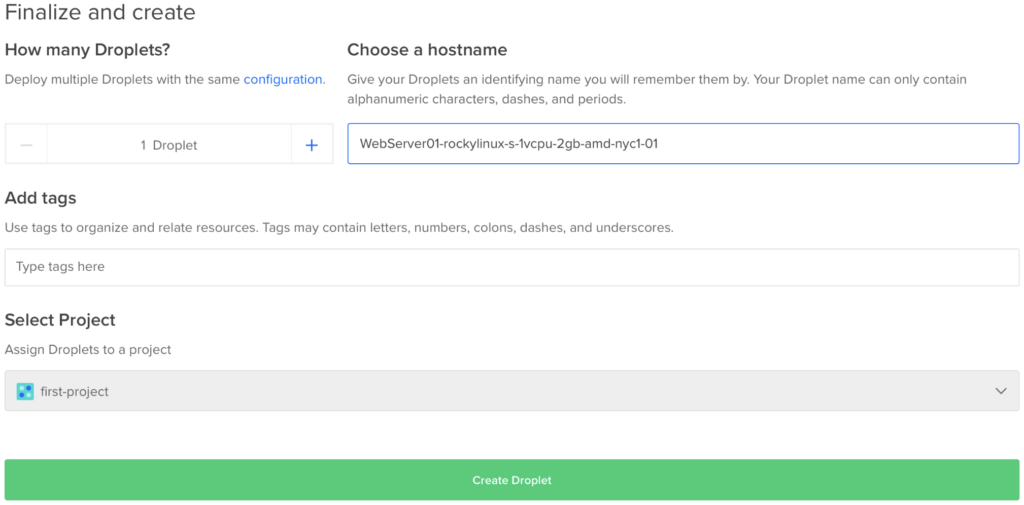
Finalize and Create
Here you’ll specify if you want to clone this Droplet, name your Droplet, add tags and add to a project. Tags are a great way of organizing data that’s not in a hierarchical structure.
Post Creation
After you click Create Droplet you’ll see your droplet with a progress bar appear under the Droplets section of your Project. This indicates that the server instance is being built and will be ready for use momentarily.

Once created, we can select it to view more about it, including our external IP.

Final Notes
From this point forward, you’re able to SSH into your server via an SSH client or using the web-client offered by DigitalOcean (typically available amongst VPS providers). Check out the rest of the site for more systems administration guides. As I complete more write-ups, I’ll update existing guides with more links for an optimal learning flow.
Leave a Reply